Automate Score Graphics
In the fast-paced world of sports, every second counts. Fans across the globe, from New York to Nairobi, demand instant updates the moment a match ends. Manually creating graphics for every final score is a time-consuming battle against the clock.
Fortunately, there is a much smarter way to work. By combining the design power of Canva with the automation magic of Zapier, you can achieve true digital efficiency. This guide will show you exactly how to set up a system that instantly transforms raw score data into professional, shareable graphics. It’s time to say goodbye to manual updates and hello to a seamless content machine.
Preparing for Automation: Data and Design
Before you can build your automated workflow, you need two essential components. First, a reliable data source, and second, a dynamic Canva template. Getting these elements right is the foundation for a flawless process. Think of it as your pre-game strategy.

Choose Your Data Source
You need a central, updated place for your scores. Zapier can connect to thousands of apps, but a simple spreadsheet is often the most effective starting point.
-
01Google Sheets or Airtable. These are excellent choices. Create a sheet with clear columns for essential data like “Home Team,” “Away Team,” “Home Score,” “Away Score,” and “Match Status.” Every time you update a row, it can trigger the automation.
-
02Sports Data APIs. For true, real-time updates without any manual entry, you could integrate directly with a sports data provider. This is a more advanced but powerful option.
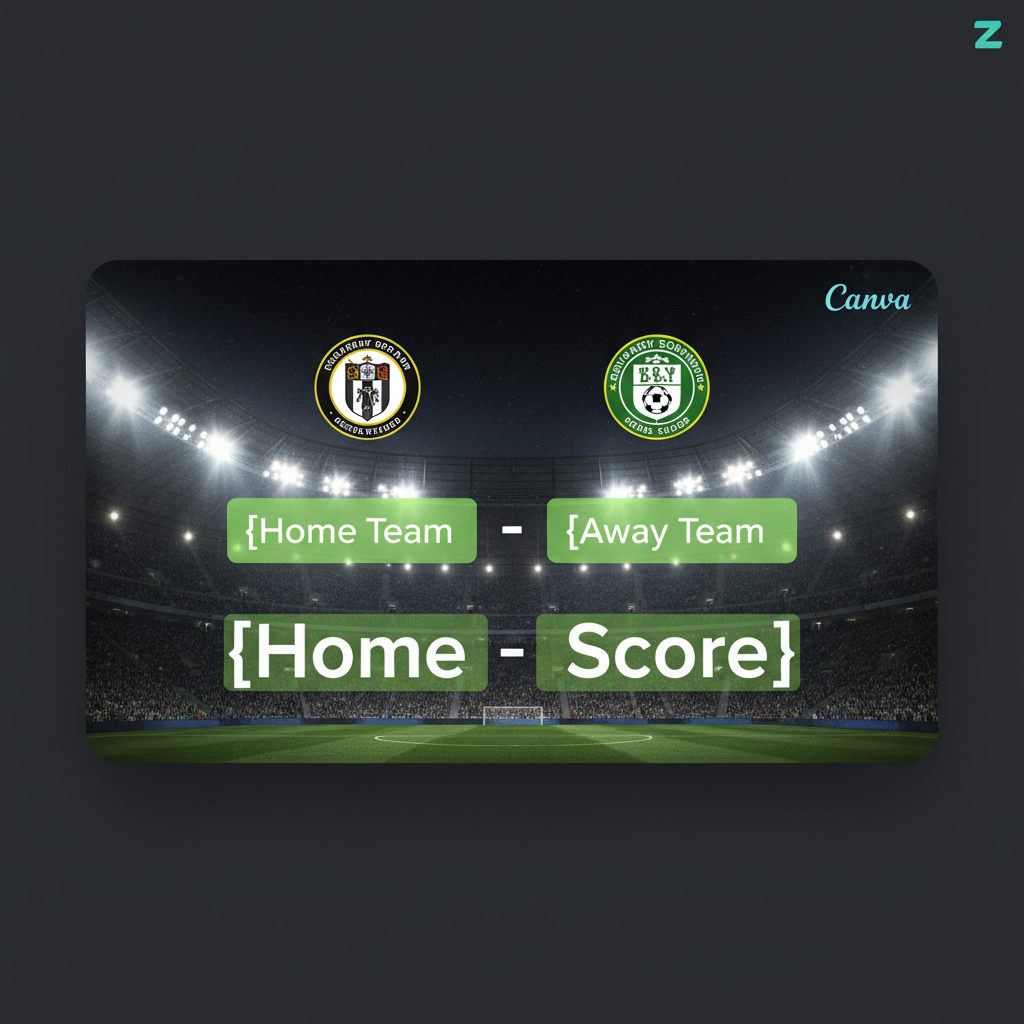
Design a Dynamic Canva Template
Next, head over to Canva to design your score update graphic. The key here is to use separate text boxes for every element that will change. For example, create one text box for the home team’s name and another for the home team’s score. These text boxes act as placeholders. Zapier uses Canva’s Autofill API to populate these specific fields, leaving the rest of your branded design untouched. For a deeper look into creating effective templates, you can explore the official Canva blog.
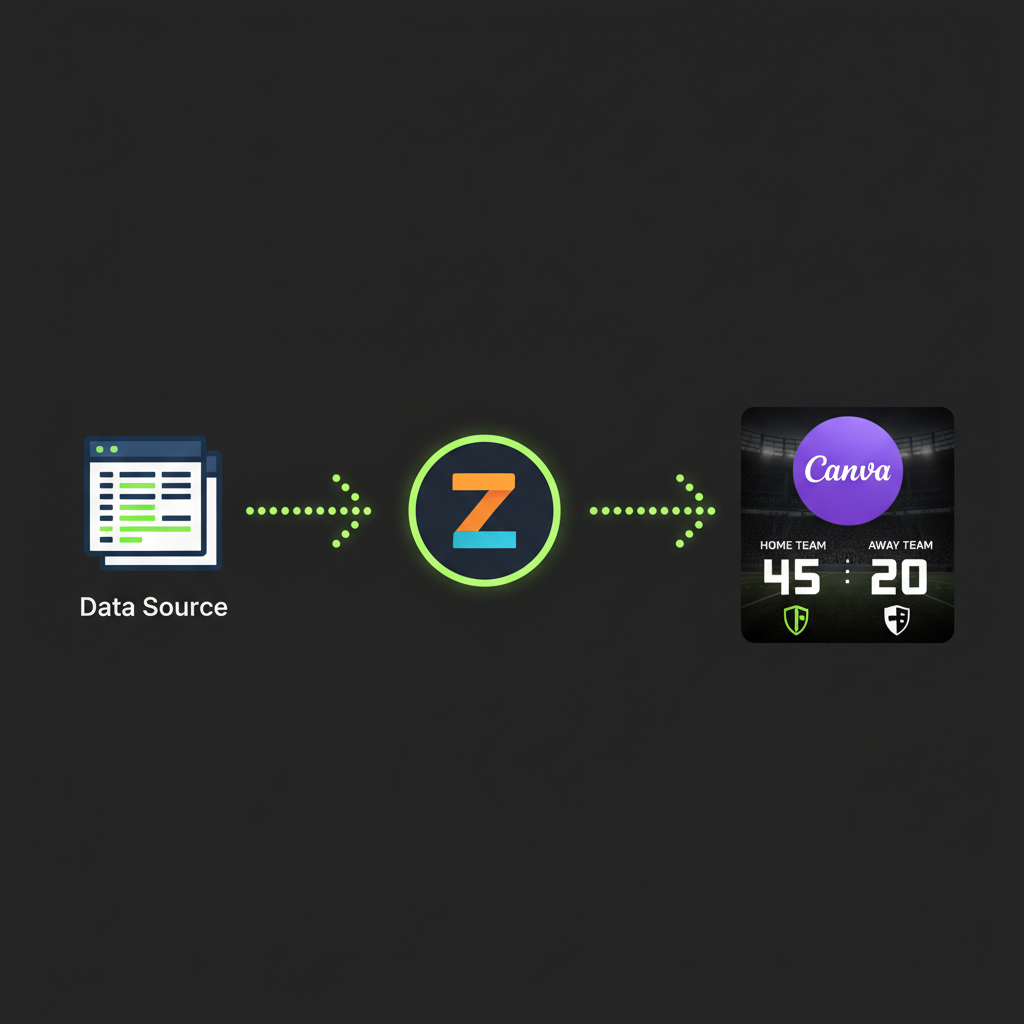
Building Your Automated Workflow
With your data source and Canva template ready, it’s time to connect them using Zapier. This automated workflow is called a “Zap.” Follow these simple steps to bring your automated graphics to life.
1. Set Your Trigger
In Zapier, select your data source app (e.g., Google Sheets). Then, choose a trigger like “New or Updated Spreadsheet Row.” This tells Zapier to start the process whenever new score information is available.
2. Select Your Action
Next, choose Canva as your action app. Select the action “Create Design.” This will generate a new graphic each time your trigger fires.
3. Map Your Data Fields
This is the most crucial step. You must connect the data from your trigger to the placeholder fields in Canva. For instance, link the “Home Score” column from your spreadsheet to the “Home Score” text field in your Canva template.
4. Test Your Zap
Before activating, Zapier allows you to run a test. It will pull sample data, send it to Canva, and generate a test image. This ensures everything is connected correctly.
5. Activate and Distribute: Once the test is successful, turn on your Zap! You can even add another step to automatically post the final graphic to social media or save it to a cloud drive.
Best Practices and Advanced Tips
To get the most out of your automation, it helps to keep a few best practices in mind. Also, understanding the limitations can help you decide when you might need a more specialized tool.
Tips for a Robust Workflow
Canva’s integration with Zapier typically creates a new design file with each update. For a workflow that truly syncs, you can store the unique Canva Design ID in your spreadsheet. When Zapier creates the first design, it can return this ID. Saving it allows you to reference that specific design in future updates, although this is a more advanced technique. To learn about the many ways to connect your apps, check out some ideas on the Zapier blog.
Exploring Powerful Alternatives
While the Zapier and Canva combination is fantastic for post-game graphics, it has its limits. For highly dynamic needs, such as live in-game score overlays, you might explore API-driven tools. These specialized image generation platforms offer more advanced control, allowing for real-time text updates within a single, responsive image. Check out comparisons on sites like G2 Software Reviews for more automation tools.
Conclusion: Work Smarter, Not Harder
Automating your full-time score updates with Zapier and Canva is a game-changer for any sports content creator. It not only saves you countless hours but also eliminates the risk of manual errors. More importantly, it ensures your audience gets the timely, professional graphics they expect. By embracing this workflow, you can finally stop chasing the clock and start focusing on what truly matters: engaging with your community and celebrating the final score.


